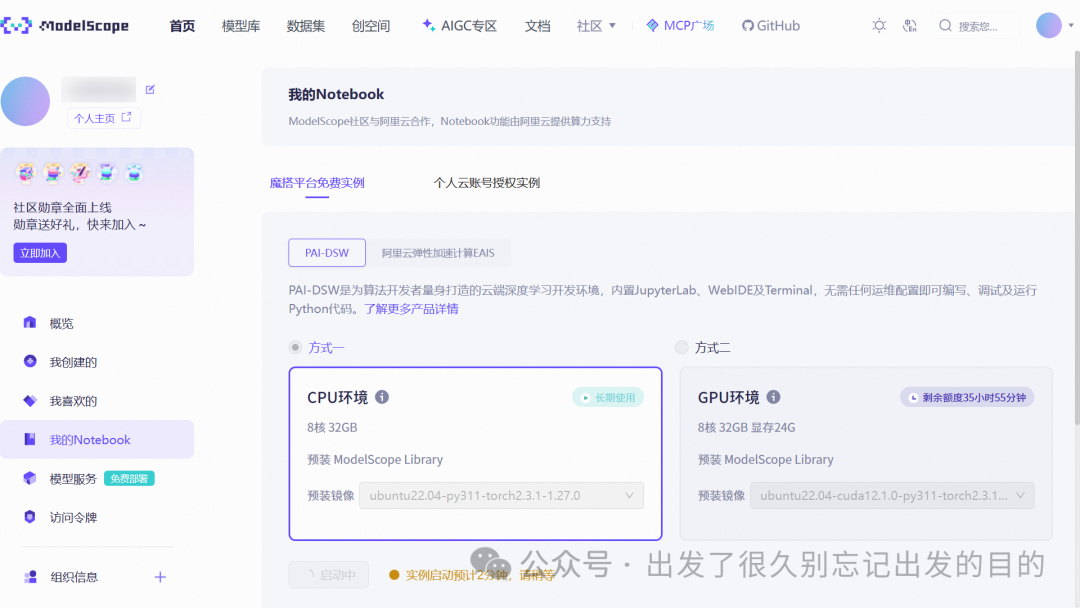
魔搭社区:https://modelscope.cn/环境:魔搭平台免费实例 -> PAI-DSW -> CPU环境#实例规格:DSW-CPU#预装 ModelScope Library#预装镜像 ubuntu22.04-py311-torch2.3.1-1.27.0ubuntu系统已安装:ffmpeg torch torchaudioPython版本:Python 3.11.11# demo:https://huggingface.co/spaces/IndexTeam/IndexTTShttps://modelscope.cn/studios/IndexTeam/IndexTTS-Demohttps://index-tts.github.io/# Paper:https://arxiv.org/abs/2502.05512# 需要绑定阿里云账号# 请根据实际情况选择使用CPU环境还是GPU环境"首页" -> "我的Notebook" -> "魔搭平台免费实例" -> "PAI-DSW" -> "方式一" -> "CPU环境"
点击"启动"后
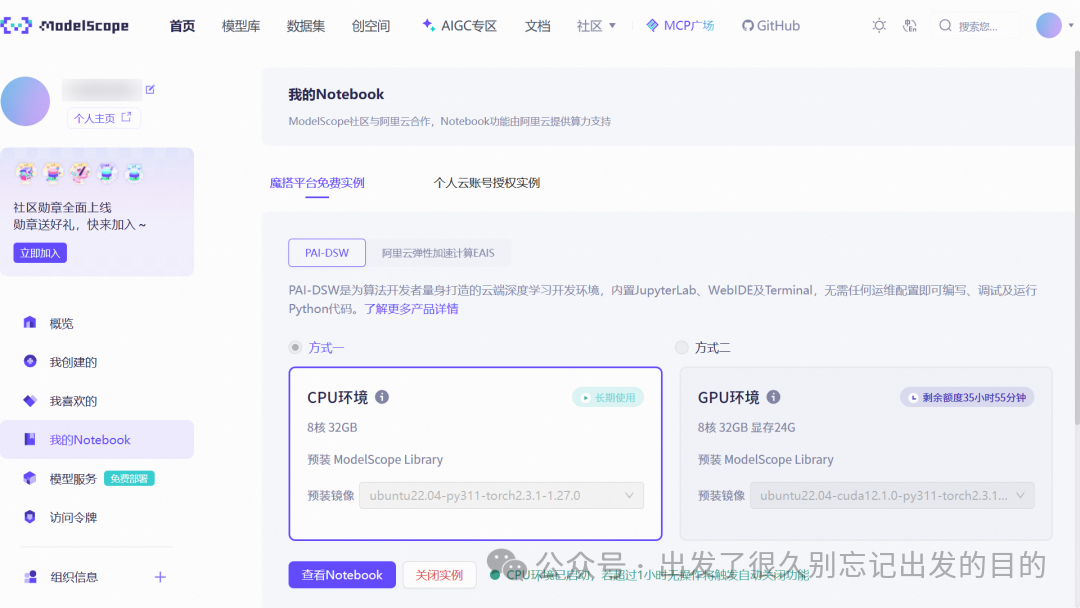
点击"查看Notebook"后
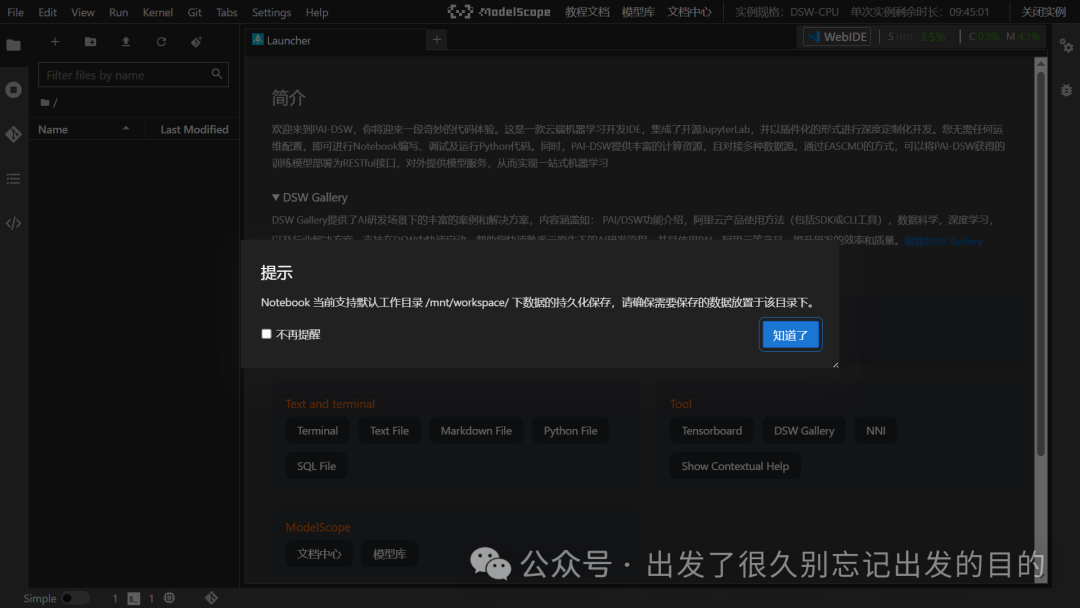
点击"WebIDE"后如果点击"Notebook",就切换回去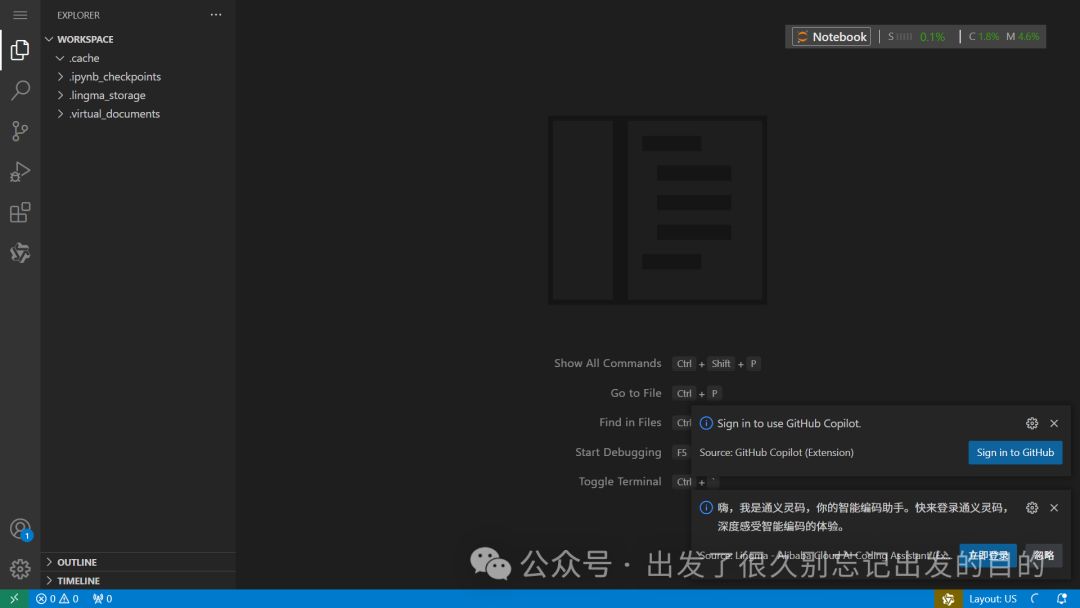
# 快捷键:Show All Commands:Ctrl + Shift + P Go to File:Ctrl + P Find in Files:Ctrl + Shift + F Start Debugging:F5 Toggle Terminal:Ctrl + `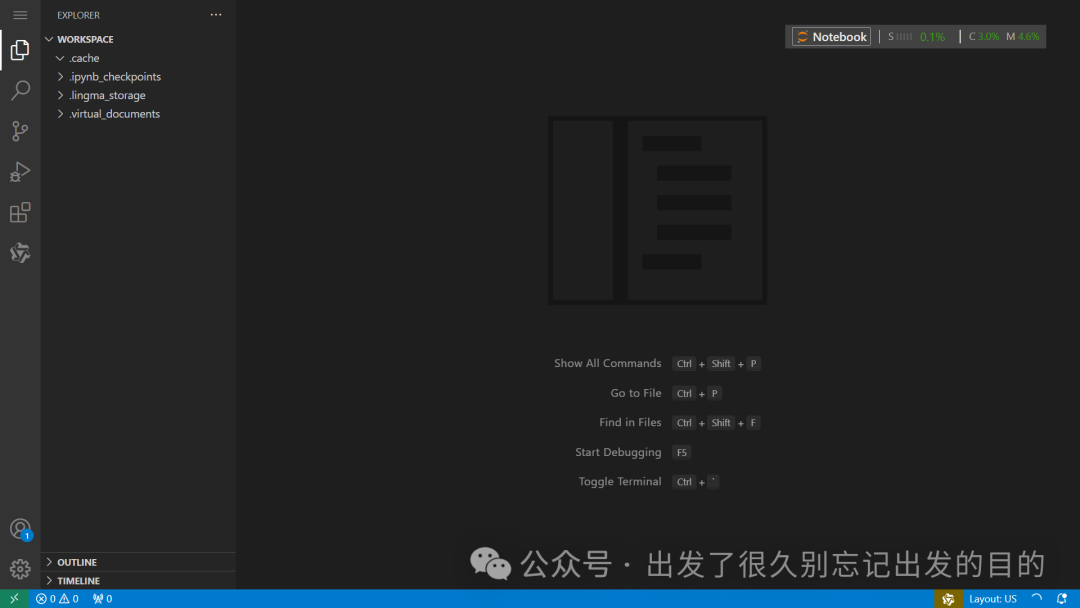
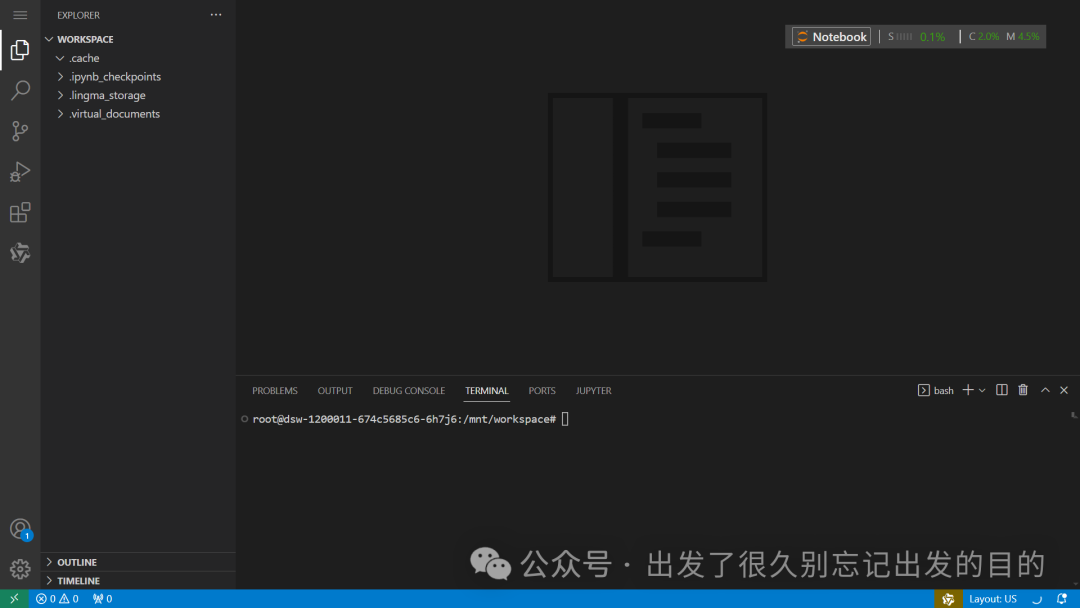
快捷键:Ctrl + `
详见:https://github.com/index-tts/index-tts
使用快捷键Ctrl + `,进入终端执行命令
git clone https://github.com/index-tts/index-tts.git
# 方式1:# 详见:https://packaging.python.org/en/latest/guides/installing-using-pip-and-virtual-environments/# 创建虚拟环境python -m venv index-tts# 激活虚拟环境source index-tts/bin/activate# 退出虚拟环境deactivate# 方式2:# 详见:https://docs.conda.io/projects/conda/en/stable/commands/index.html# 创建虚拟环境conda create -n index-tts python=3.11# 激活虚拟环境conda activate index-tts# 退出虚拟环境conda deactivate# 删除虚拟环境conda env remove -n index-ttscd index-tts/
系统已安装,跳过# 1、安装ffmpeg:# apt-get install ffmpeg# 2、安装PyTorch:# 详见:https://pytorch.org/get-started/locally/# 方式1:使用CUDA 11.8计算平台:# pip install torch torchaudio --index-url https://download.pytorch.org/whl/cu118# 方式2:使用CPU计算平台:# pip install torch torchaudio --index-url https://download.pytorch.org/whl/cpupip install -r requirements.txt# 如果想要后续使用indextts命令,请执行下面命令# pip install -e .# pip升级:pip install --upgrade pip# pip降级(指定某个版本):pip install pip==24.0详见:https://modelscope.cn/models/IndexTeam/Index-TTShttps://modelscope.cn/models/IndexTeam/IndexTTS-1.5https://github.com/index-tts/index-ttshttps://www.modelscope.cn/docs/models/download#使用命令行工具下载模型
# 安装ModelScope# pip install modelscope# 下载模型modelscope download --model IndexTeam/IndexTTS-1.5 --local_dir checkpoints# 当前目录:/mnt/workspace/index-tts# reference_voice.wav音频文件:方式1:使用tests/sample_prompt.wav文件方式2:前往以下地址下载音频 https://index-tts.github.io/ https://github.com/index-tts/index-tts.github.io 方式3:自行录制音频等想要使用indextts命令,确定已经执行下面命令:pip install -e .
indextts命令说明:usage: indextts [-h] -v VOICE [-o OUTPUT_PATH] [-c CONFIG] [--model_dir MODEL_DIR] [--fp16] [-f] [-d DEVICE] textindextts: error: the following arguments are required: text, -v/--voiceindextts "大家好,我现在正在bilibili 体验 ai 科技,说实话,来之前我绝对想不到!AI技术已经发展到这样匪夷所思的地步了!" \ --voice reference_voice.wav \ --model_dir checkpoints \ --config checkpoints/config.yaml \ --output output.wav
bash demo.sh
output.wav
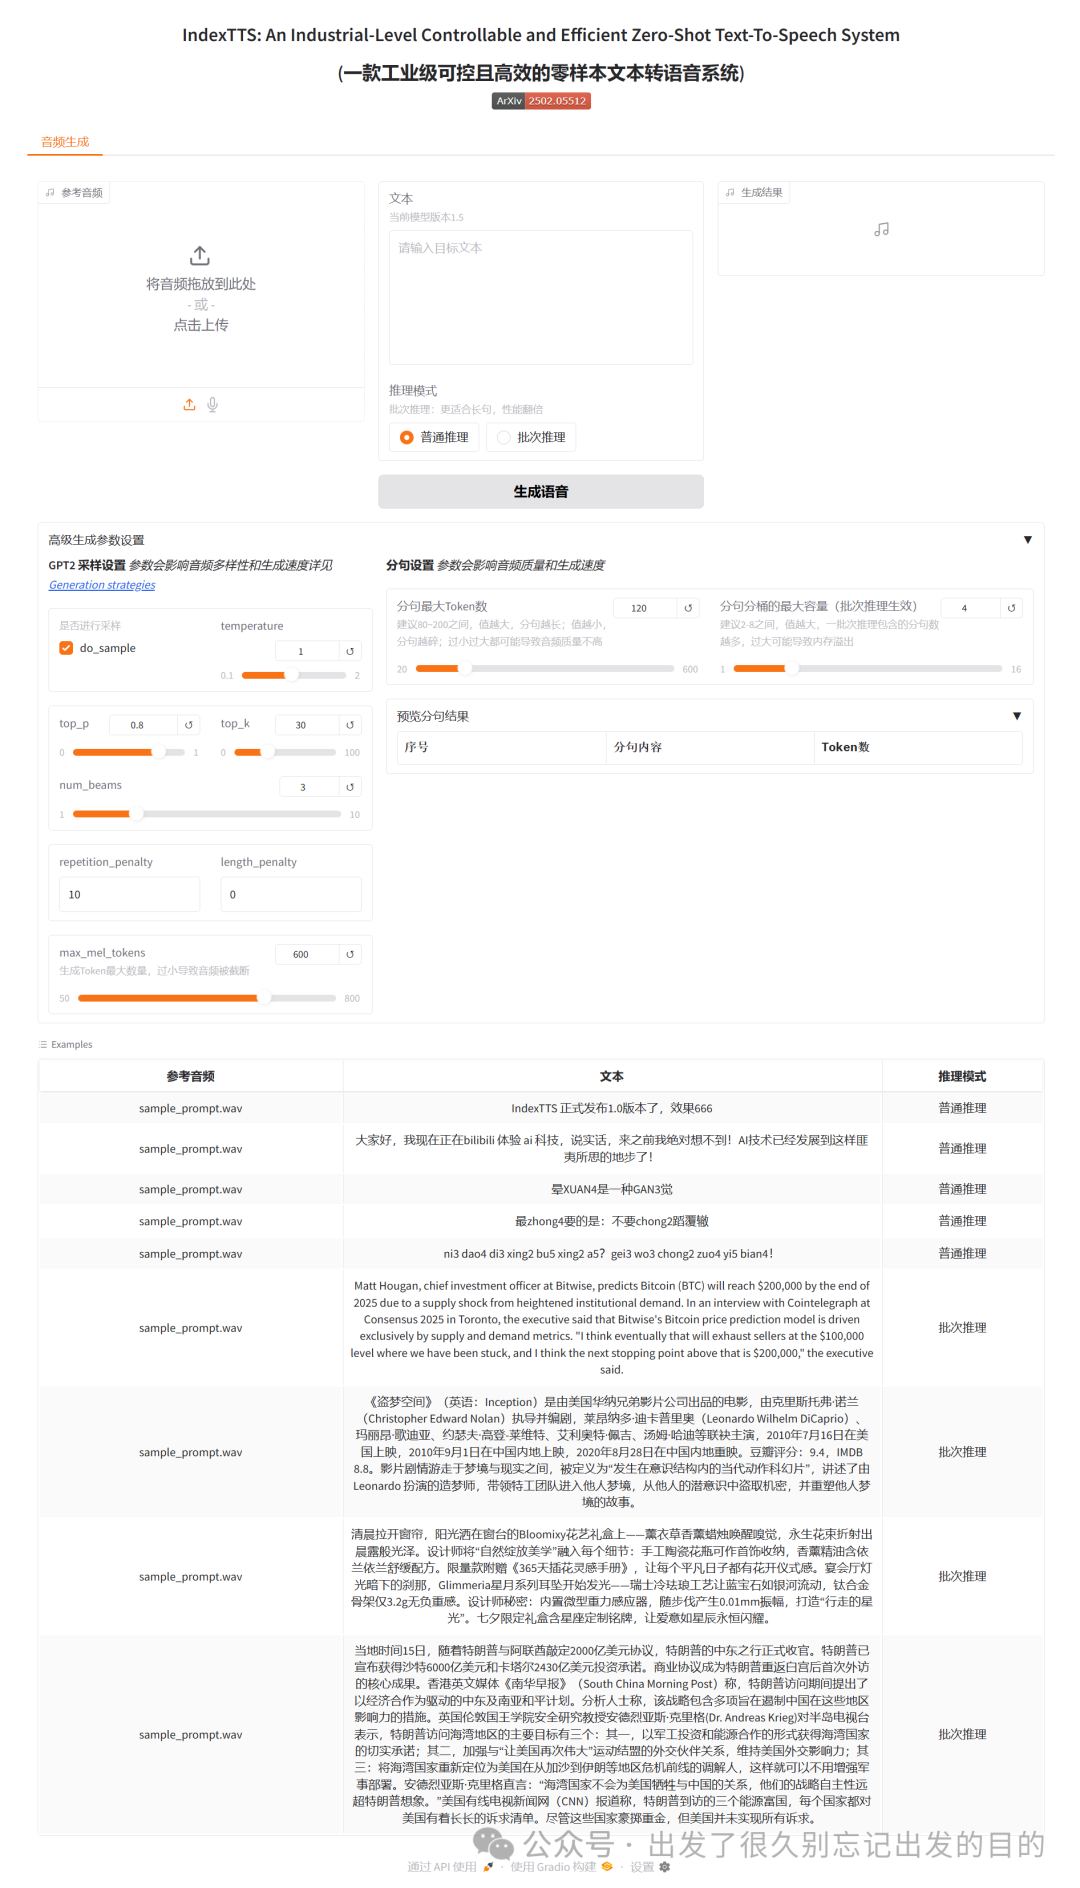
python webui.py# python webui.py --host=0.0.0.0 --port=8080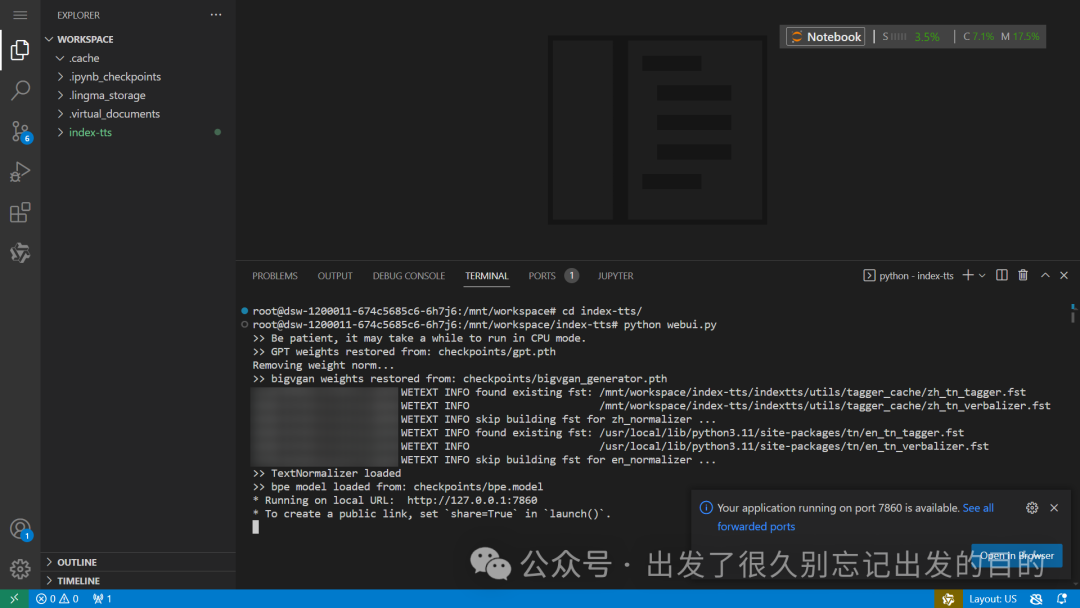

弹出消息提示:“Your application running on port 7860 is available.See all forwarded ports”如果没有点击"Open in Browser",也可以点击终端的"PORTS"进行查看
创建demo.py文件:
from indextts.infer import IndexTTStts = IndexTTS(model_dir="checkpoints",cfg_path="checkpoints/config.yaml")voice="reference_voice.wav"text="大家好,我现在正在bilibili 体验 ai 科技,说实话,来之前我绝对想不到!AI技术已经发展到这样匪夷所思的地步了!比如说,现在正在说话的其实是B站为我现场复刻的数字分身,简直就是平行宇宙的另一个我了。如果大家也想体验更多深入的AIGC功能,可以访问 bilibili studio,相信我,你们也会吃惊的。"output_path = "demo_voice.wav"tts.infer(voice, text, output_path)python demo.py
demo_voice.wav
https://modelscope.cn/https://index-tts.github.io/https://github.com/index-tts/index-tts

 支付宝微信扫一扫,打赏作者吧~
本文链接:https://kinber.cn/post/6136.html 转载需授权!
推荐本站淘宝优惠价购买喜欢的宝贝:

 您阅读本篇文章共花了:
