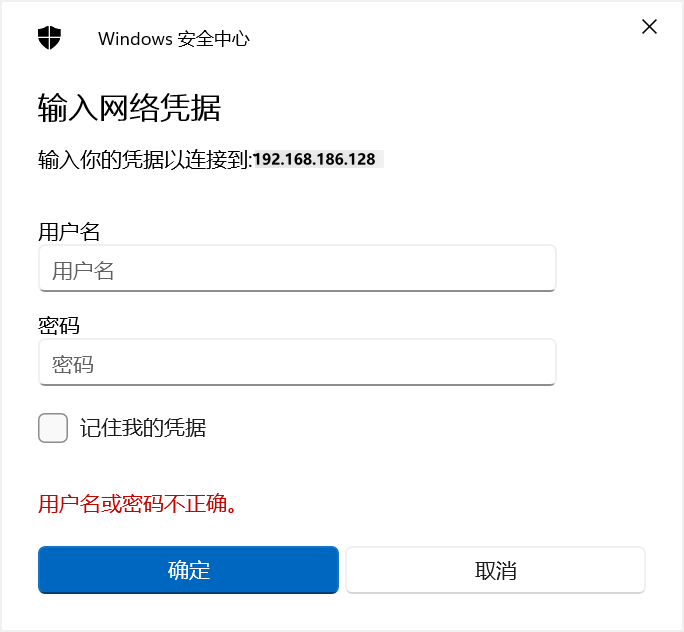
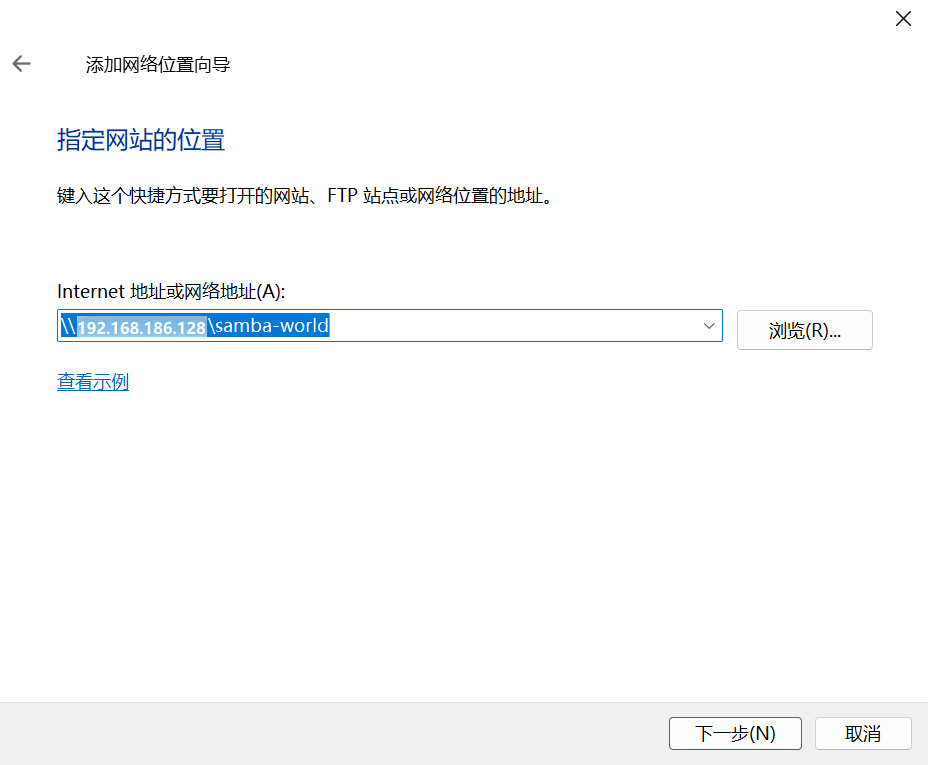
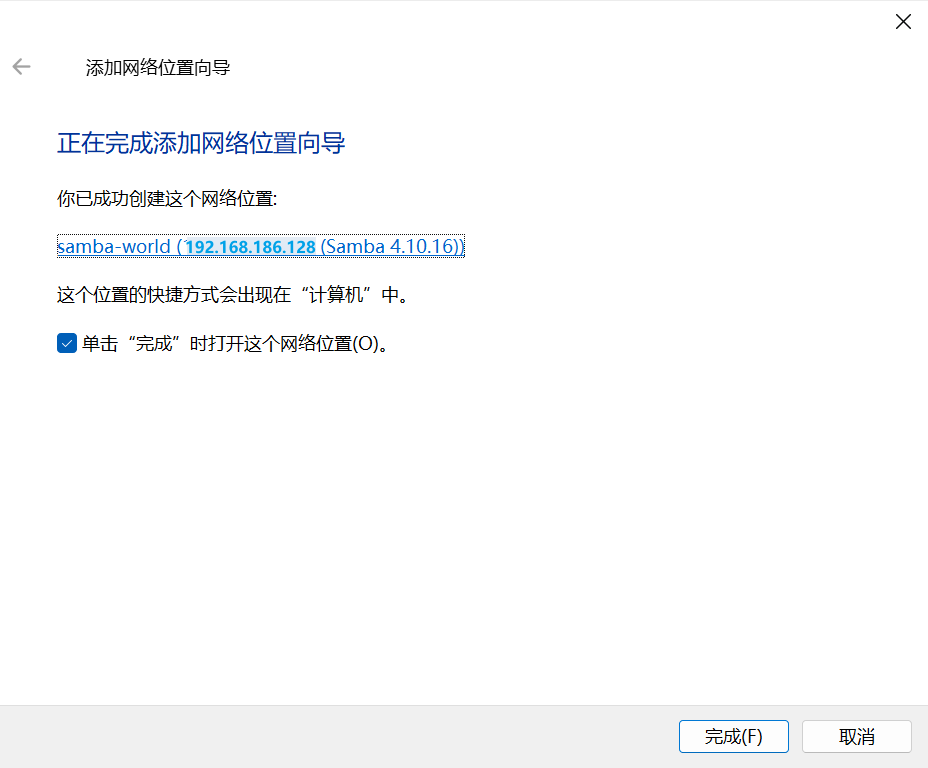
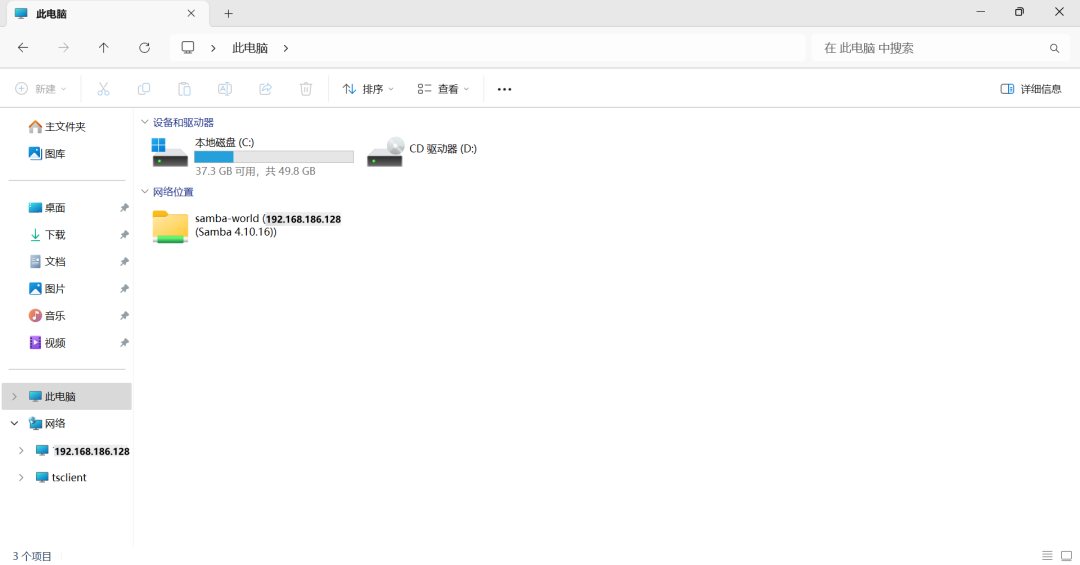
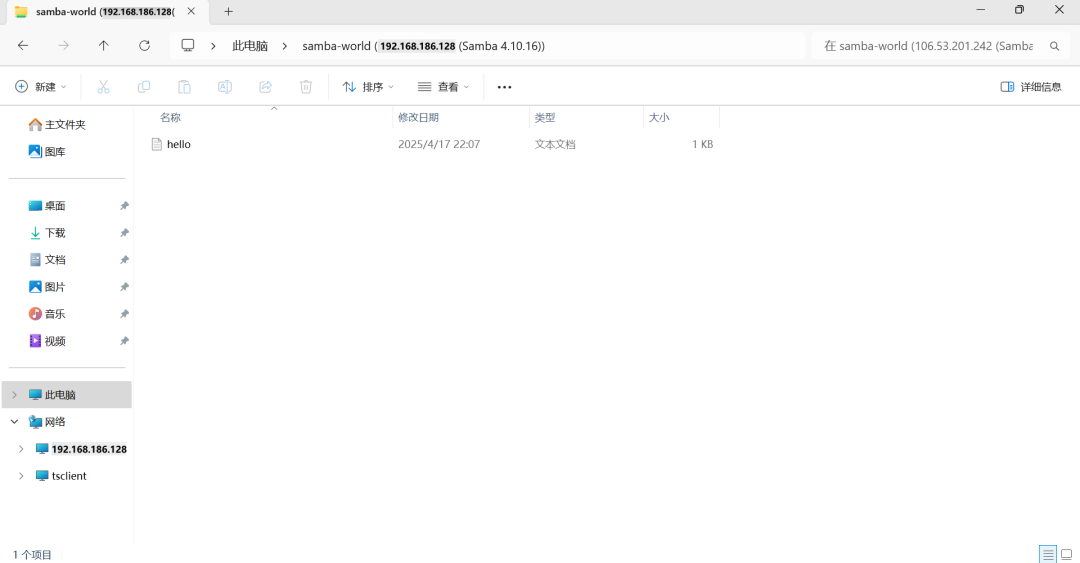
假设当前ip为192.168.186.128
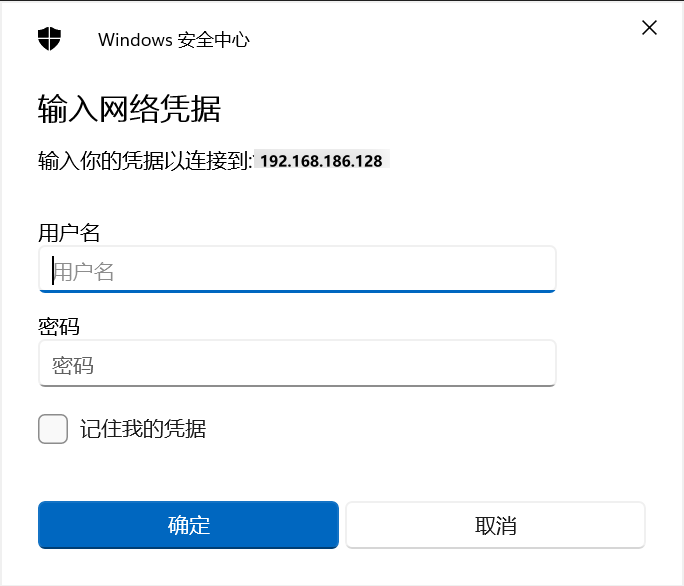
# 详见:https://wiki.samba.org/index.php/Distribution-specific_Package_Installation# 安装yum -y install samba samba-client samba-common# 卸载# yum -y remove samba samba-client samba-common# 详见:https://wiki.samba.org/index.php/Build_Samba_from_Source# 1、下载wget https://download.samba.org/pub/samba/stable/samba-4.20.8.tar.gz# 2、解压tar -xf samba-4.20.8.tar.gz# 3、切换目录,因为当前系统为centos7cd samba-4.20.8/bootstrap/generated-dists/centos7/# 4、安装依赖./bootstrap.sh# 5、切换回samba目录cd ../../..# 6、配置./configure# 7、编译make# 8、安装make install# 9、查看安装位置/usr/local/sambals /usr/local/samba# 10、添加到环境变量#编辑~/.bash_profile文件vi /root/.bash_profile# 修改内容SAMBA_HOME=/usr/local/sambaPATH=$PATH:$HOME/bin:$SAMBA_HOME/bin:$SAMBA_HOME/sbin# 执行source命令使配置生效source /root/.bash_profile# -----------执行命令-----------./bootstrap.sh# -----------报错内容-----------+ yum update -yLoaded plugins: fastestmirror, ovlDetermining fastest mirrorsCould not retrieve mirrorlist http://mirrorlist.centos.org/?release=7&arch=x86_64&repo=os&infra=container error was14: curl#6 - "Could not resolve host: mirrorlist.centos.org; Unknown error" One of the configured repositories failed (Unknown), and yum doesn't have enough cached data to continue. At this point the only safe thing yum can do is fail. There are a few ways to work "fix" this: 1. Contact the upstream for the repository and get them to fix the problem. 2. Reconfigure the baseurl/etc. for the repository, to point to a working upstream. This is most often useful if you are using a newer distribution release than is supported by the repository (and the packages for the previous distribution release still work). 3. Run the command with the repository temporarily disabled yum --disablerepo=<repoid> ... 4. Disable the repository permanently, so yum won't use it by default. Yum will then just ignore the repository until you permanently enable it again or use --enablerepo for temporary usage: yum-config-manager --disable <repoid> or subscription-manager repos --disable=<repoid> 5. Configure the failing repository to be skipped, if it is unavailable. Note that yum will try to contact the repo. when it runs most commands, so will have to try and fail each time (and thus. yum will be be much slower). If it is a very temporary problem though, this is often a nice compromise: yum-config-manager --save --setopt=<repoid>.skip_if_unavailable=trueCannot find a valid baseurl for repo: base/7/x86_64# -----------解决-----------# 备份cp /etc/yum.repos.d/CentOS-Base.repo /etc/yum.repos.d/CentOS-Base.repo-bak# 下载curl -o /etc/yum.repos.d/CentOS-Base.repo http://mirrors.aliyun.com/repo/Centos-7.repo# -----------执行命令-----------make# -----------报错内容-----------Waf: Leaving directory `/root/samba-4.20.8/bin/default'Build failedTraceback (most recent call last): File "/root/samba-4.20.8/third_party/waf/waflib/Task.py", line 350, in process ret = self.run() File "./buildtools/wafsamba/samba_waf18.py", line 30, in flexfun tsk.outputs[0].write(txt.replace('\r\n', '\n').replace('\r', '\n')) # issue #1207 File "/root/samba-4.20.8/third_party/waf/waflib/Node.py", line 201, in write Utils.writef(self.abspath(), data, flags, encoding) File "/root/samba-4.20.8/third_party/waf/waflib/Utils.py", line 268, in writef data = data.encode(encoding)UnicodeEncodeError: 'latin-1' codec can't encode characters in position 14657-14658: ordinal not in range(256)make: *** [all] Error 1# -----------解决-----------# 方式1:export PYTHONIOENCODING=UTF-8# 方式2:# 编辑~/.bash_profile文件vi /root/.bash_profile# 在~/.bash_profile文件增加一行内容:export PYTHONIOENCODING=UTF-8# 执行source命令使配置生效source /root/.bash_profile# 方式1:使用yum命令安装后,查看配置文件cat /etc/samba/smb.conf# 方式2:编译源码安装,查看安装包的examples/smb.conf.default文件 cat examples/smb.conf.default | grep -v ';' | grep -v '#' | grep -v '^$'# See smb.conf.example for a more detailed config file or# read the smb.conf manpage.# Run 'testparm' to verify the config is correct after# you modified it.[global] workgroup = SAMBA security = user passdb backend = tdbsam printing = cups printcap name = cups load printers = yes cups options = raw[homes] comment = Home Directories valid users = %S, %D%w%S browseable = No read only = No inherit acls = Yes[printers] comment = All Printers path = /var/tmp printable = Yes create mask = 0600 browseable = No[print$] comment = Printer Drivers path = /var/lib/samba/drivers write list = @printadmin root force group = @printadmin create mask = 0664 directory mask = 0775# 详见:https://wiki.samba.org/index.php/Setting_up_Samba_as_a_Standalone_Server# 创建samba用户useradd -M -s /sbin/nologin samba# 给samba用户设置密码passwd samba# 添加samba用户到Samba databasesmbpasswd -a samba# 删除pdb存储的samba用户# pdbedit -x samba# 详见:https://wiki.samba.org/index.php/Setting_up_Samba_as_a_Standalone_Server# 创建共享目录mkdir -p /home/samba/# 权限设置chown -Rf samba:samba /home/samba/chmod 2770 /home/samba/# 详见:https://www.linuxprobe.com/basic-learning-12.html[global] workgroup = SAMBA security = user passdb backend = tdbsam[samba-world] path = /home/samba public = no writable = yes[samba-world],共享名称为samba-world path = /home/samba,共享目录为/home/samba public = no,关闭“所有人可见” writable = yes,允许写入
# 验证Samba配置testparm -s
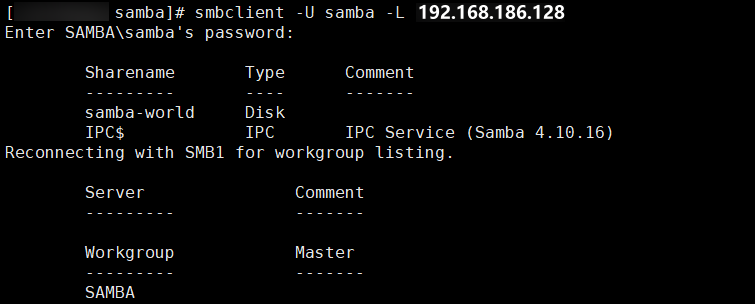
# 启动服务systemctl start smb nmb# 或者# smbd nmbd# 查看状态# systemctl status smb nmb# 或者# ps aux|grep smb# ps aux|grep nmbsmbclient -U samba -L 192.168.186.128
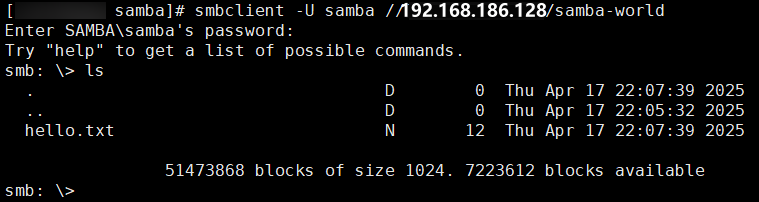
smbclient -U samba //192.168.186.128/samba-world
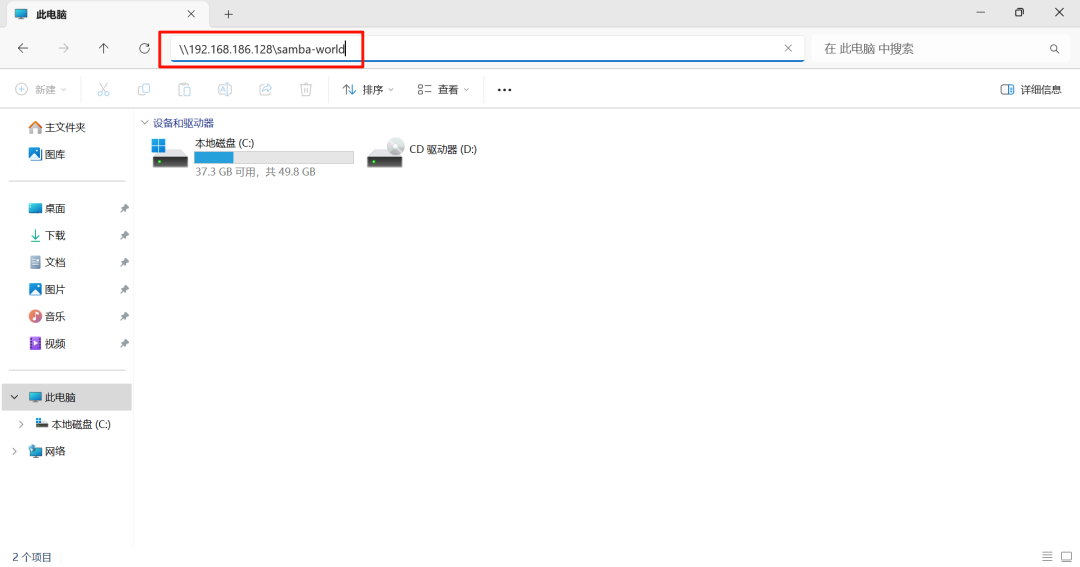

# 查看net use# 删除net use * /del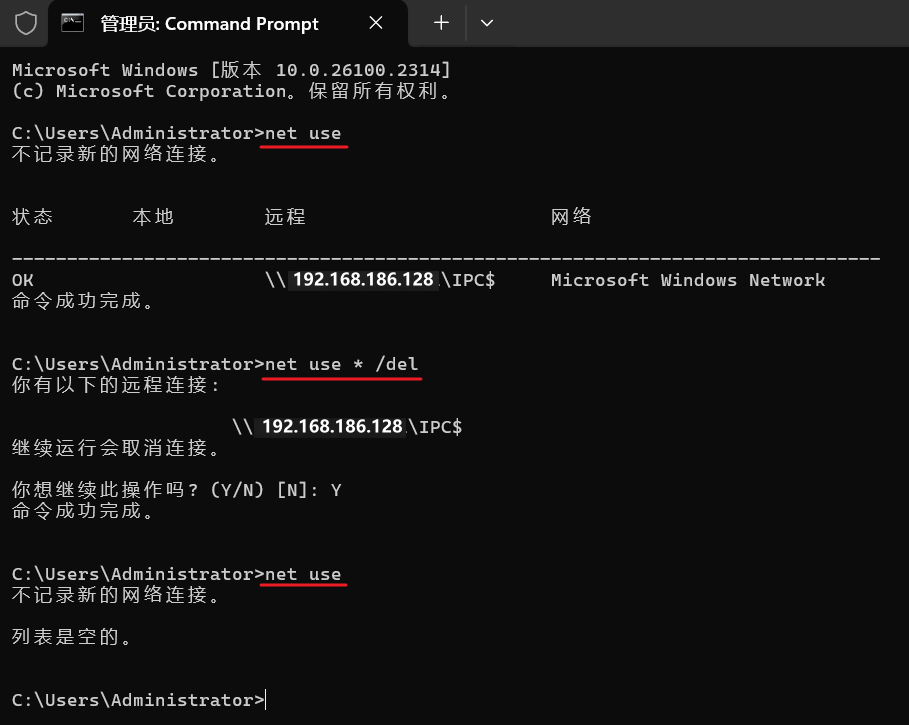
# 创建目录mkdir -p /root/samba-world# 挂载mount -t cifs -o username=samba,password=123456 //192.168.186.128/samba-world /root/samba-world# 卸载# umount /root/samba-world# 查看文件ls /root/samba-worldhttps://www.samba.org/https://wiki.samba.org/index.php/User_Documentationhttps://wiki.samba.org/index.php/Installing_Sambahttps://wiki.samba.org/index.php/Build_Samba_from_Sourcehttps://wiki.samba.org/index.php/Distribution-specific_Package_Installationhttps://wiki.samba.org/index.php/Setting_up_Samba_as_a_Standalone_Serverhttps://www.linuxprobe.com/basic-learning-12.html

 支付宝微信扫一扫,打赏作者吧~
本文链接:https://kinber.cn/post/6135.html 转载需授权!
推荐本站淘宝优惠价购买喜欢的宝贝:

 您阅读本篇文章共花了: