https://www.clashverge.dev/faq/linux.html
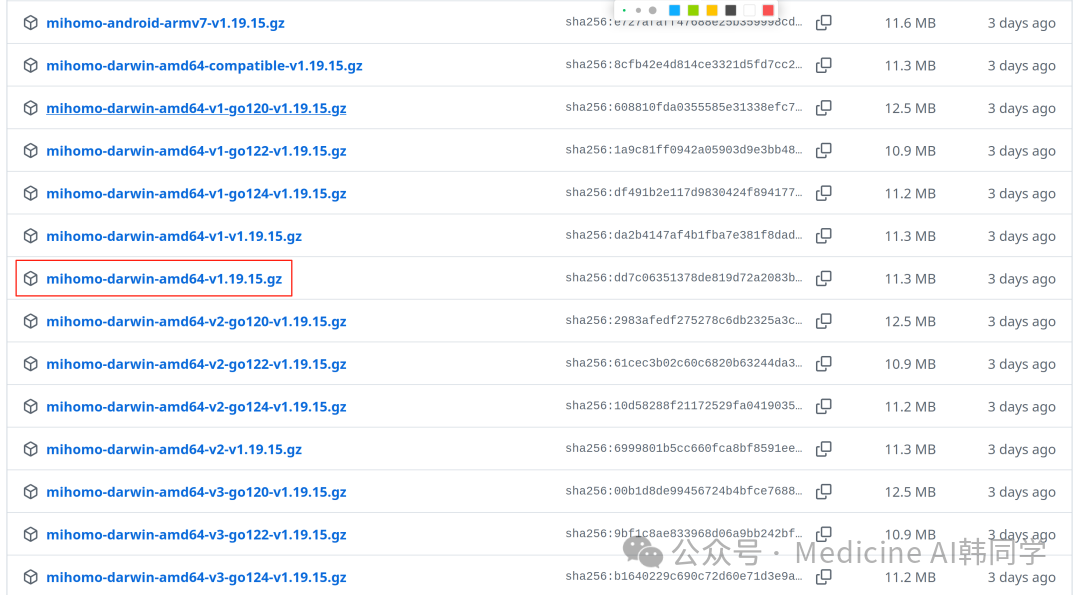
# 解压gunzip mihomo-linux-amd64-v1.19.15.gz# 重命名并设置权限mv mihomo-linux-amd64-v1.19.15 mihomochmod +x mihomo# 移动到系统路径mv mihomo /usr/local/bin/
# 创建配置目录mkdir-p ~/.config/mihomo# 在 ~/.config/mihomo目录下创建/config.yaml文件并将预先准备的代理节点配置数据放进来vim ~/.config/mihomo/config.yaml
# mihomo 配置文件# 端口设置port: 7890socks-port: 7891redir-port: 7892mixed-port: 7890# 基础设置allow-lan: falsebind-address: "*"mode: rulelog-level: infoipv6: false# 外部控制external-controller: 127.0.0.1:9090secret: ""external-ui: dashboard# DNS 设置dns: enable: true listen: 0.0.0.0:53 enhanced-mode: fake-ip fake-ip-range: 198.18.0.1/16 default-nameserver: - 223.5.5.5 - 119.29.29.29 nameserver: - https://dns.alidns.com/dns-query - https://doh.pub/dns-query fallback: - https://1.1.1.1/dns-query - https://dns.google/dns-query fallback-filter: geoip: true geoip-code: CN ipcidr: - 240.0.0.0/4 # TUN 设置(可选,需要特权)tun: enable: true stack: system dns-hijack: - 8.8.8.8:53 - 8.8.4.4:53# 代理提供商(替换为你的订阅链接)proxy-providers: my_provider: type: http url: "https://你的订阅链接" interval: 3600 health-check: enable: true interval: 600 url: http://www.gstatic.com/generate_204# 代理组proxy-groups: - name: ? 节点选择 type: select proxies: - ♻️ 自动选择 - ? 全球直连 use: - my_provider# 规则rules: - DOMAIN-SUFFIX,google.com,? 节点选择EOF
# 前台运行(测试用)mihomo -d ~/.config/mihomo# 后台运行nohup mihomo -d ~/.config/mihomo > /tmp/mihomo.log 2>&1 &

Can't find MMDB, start download
# 下载命令wget https://cdn.jsdelivr.net/gh/MetaCubeX/meta-rules-dat@release/geoip.metadb# 放到 ~/.config/mihomo目录下~/.config/mihomo# lscache.db config.yaml geoip.metadb

接着在终端设置代理:
# 设置代理export http_proxy="http://127.0.0.1:7890"export https_proxy="http://127.0.0.1:7890"export HTTP_PROXY="http://127.0.0.1:7890"export HTTPS_PROXY="http://127.0.0.1:7890"# SOCKS5 代理export ALL_PROXY="socks5://127.0.0.1:7891"export all_proxy="socks5://127.0.0.1:7891"
也可以把这些配置加到配置文件
# 添加到 ~/.bashrc 或 ~/.bash_profile 或 ~/.zshrcecho 'export http_proxy="http://127.0.0.1:7890"' >> ~/.bashrcecho 'export https_proxy="http://127.0.0.1:7890"' >> ~/.bashrcecho 'export ALL_PROXY="socks5://127.0.0.1:7891"' >> ~/.bashrcecho 'export no_proxy="localhost,127.0.0.1"' >> ~/.bashrc# 重新加载配置source ~/.bashrc

 支付宝微信扫一扫,打赏作者吧~
本文链接:https://kinber.cn/post/5736.html 转载需授权!
推荐本站淘宝优惠价购买喜欢的宝贝:

 您阅读本篇文章共花了: