一、搭建Gitlab
1)更新apt-get
sudo apt-get update
#更新依赖
sudo apt-get install curl openssh-server ca-certificates postfix
2)下载并安装Gitlab-ce
sudo apt-get install gitlab-ce
3)修改配置文件
sudo vim /etc/gitlab/gitlab.rb
修改内容
# external_url 'http://gitlab.example.com'
external_url 'http://10.10.61.xx:9090'
4)配置AD域链接
以下信息通过公司域账号管理人员获取
gitlab_rails['ldap_enabled'] = true
gitlab_rails['ldap_servers'] = YAML.load <<-'EOS' ###! **remember to close this block with 'EOS' below**
main: # 'main' is the GitLab 'provider ID' of this LDAP server
label: 'AD'
host: '10.10.xx.xx'
port: 380
uid: 'sAMAccountName'
method: 'plain' # "tls" or "ssl" or "plain"
bind_dn: 'CN=Gitlab,OU=Service,OU=SDMC,DC=sdmc,DC=com'
password: 'xxxxxxx'
active_directory: true
allow_username_or_email_login: true
base: 'DC=sdmc,DC=com'
user_filter: ''
EOS
5)重新载入配置文件
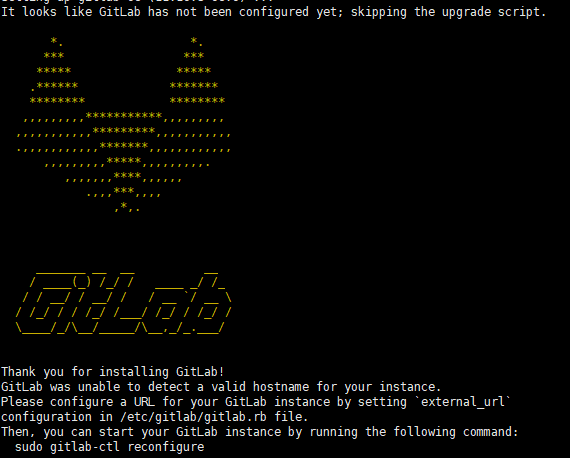
sudo gitlab-ctl reconfigure
6)初始密码
/etc/gitlab/initial_root_password
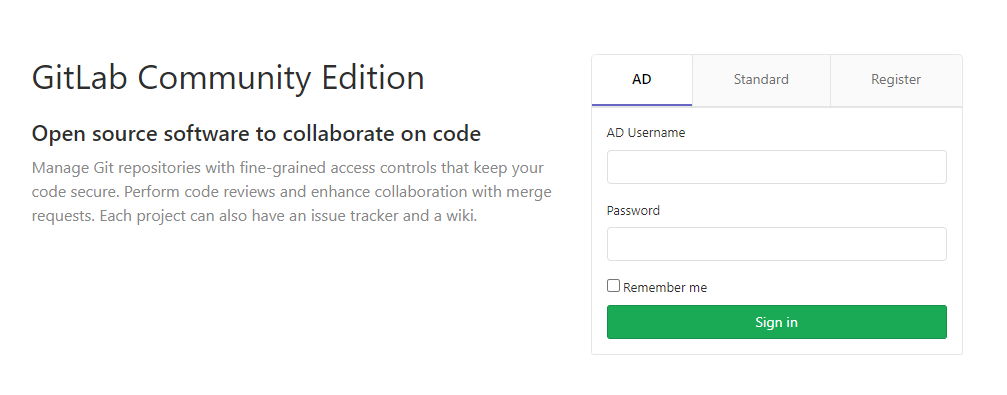
7)网站访问
有AD登录窗口且使用域账号登录成功
打赏

支付宝微信扫一扫,打赏作者吧~
本文链接:https://kinber.cn/post/4514.html 转载需授权!
推荐本站淘宝优惠价购买喜欢的宝贝:

 您阅读本篇文章共花了: