1.配置grafana的yum源
1 2 | [root@localhost ~]# cd /etc/yum.repos.d/[root@localhost yum.repos.d]# vim grafana.repo |
在里面插入
[grafana]
name=grafana
baseurl=https://packages.grafana.com/oss/rpm-beta
repo_gpgcheck=1
enabled=1
gpgcheck=1
gpgkey=https://packages.grafana.com/gpg.key
sslverify=1
sslcacert=/etc/pki/tls/certs/ca-bundle.cr
2.yum 安装或者 传包
1 2 | [root@localhost yum.repos.d]# yum -y install grafana[root@localhost ~]# rpm -ivh grafana-6.1.4-1.x86_64.rpm |
3.关注一下 配置文件路径
1 | [root@localhost ~]# vim /etc/grafana/grafana.ini |
4.定义环境变量的路径
1 | [root@localhost ~]# vim /etc/sysconfig/grafana-server |
5.启动 设置开机自启
1 2 3 4 | [root@localhost ~]# systemctl restart grafana-server[root@localhost ~]# systemctl enable grafana-serverCreated symlink from /etc/systemd/system/multi-user.target.wants/grafana-server.service to /usr/lib/systemd/system/grafana-server.service |
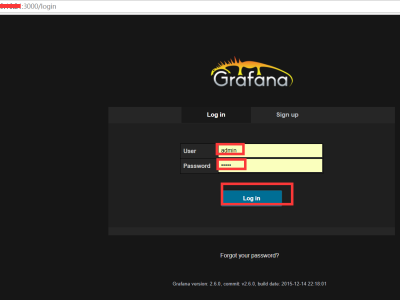
6. 登录注册


 支付宝微信扫一扫,打赏作者吧~


